How to Build An Android App and Integrate Tensorflow ML Models
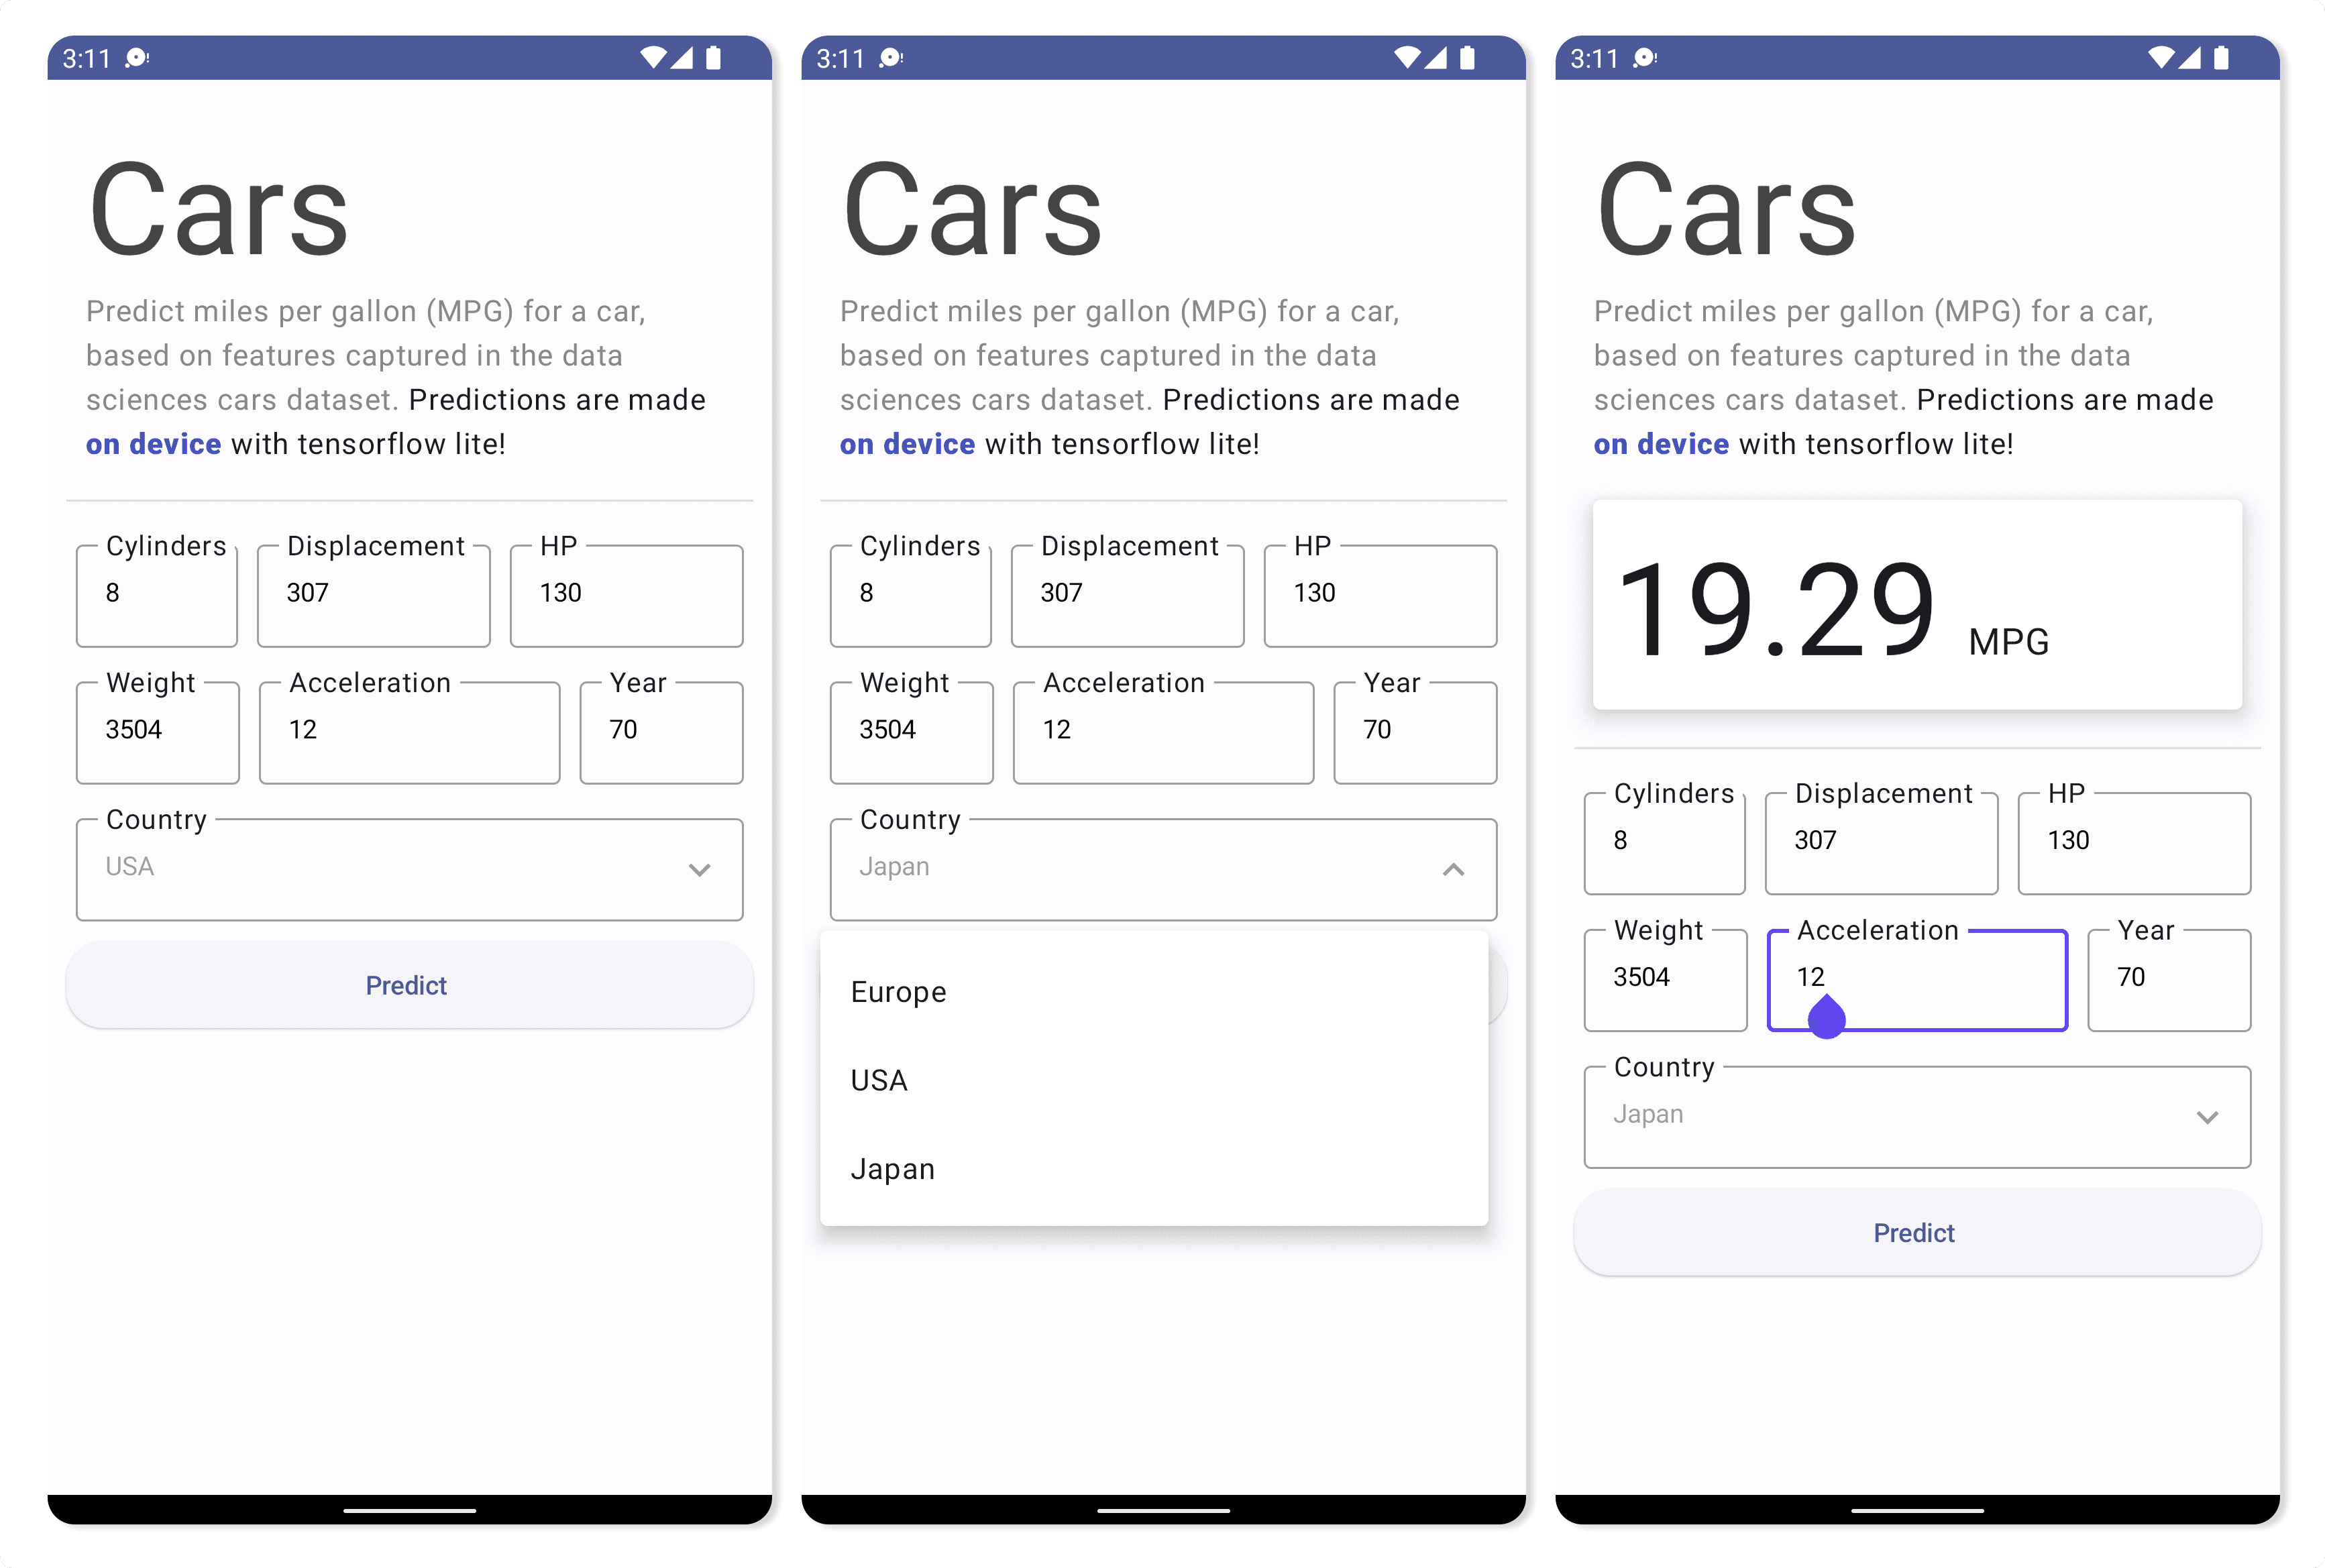
Screenshot of a basic app to predict (on-device) the miles per gallon for a car
In this post I discuss the steps I took in building a basic android app that integrates a custom tensorflow model. Given the immense fragmentation within the Android ecosystem (there are perhaps over a dozen different frameworks for building Android apps), the main question was ... how do we build the app and how do we run inference in the app?
There were a couple of high level requirments that the chosen approach must fulfill:
- Must interface well with the android machine learning library for mobile and edge devices (tensorflow lite), with opportunity to leverage any optimizations from the Android OS and Tensorflow team.
- Support the design of complex responsive UI
- Support a tested workflow with tooling support (e.g., Android Studio, Gradle, etc)
Why Machine Learning On-Device?
There are several benefits to running a machine learning model () locally on a device. Some of these reasons include:
- Privacy: The input data for the model does not leave the device and enables better data privacy and security primitives.
- Latency: The prediction is executed locally and does not require a network roundtrip.
- Access to realtime sensor data: The model can be used to build interactive experiences that take advantage of local sensor data e.g. accelerometer, gyroscope, microphone, etc. Further more, on-device training[^1] can result in personalized models with improved performance.
- Cost: The overall cost of model distribution is reduced for the developer as you do not need to host servers that serve predictions.
- Efficiency: The model can be trained on a large dataset on servers, and the resulting model compressed (quantization, pruning) to run on edge devices. Note that some use cases and models might not fit this criteria (e.g., after compressions and pruning, models may still be too large to run on-device).
Building An Android App (in 2022)
As of writing time, there are probably over a dozen ways to build Android apps. This includes approaches like Android Native, React Native, WebViews, PWAs, Flutter, and a host of other multi-platform app dev frameworks. Not just that, even for Android Native apps, you can chose to develop in multiple languages - Java, Kotlin, C/C++. And yes, you read that right, you can develop android apps in C/C++ using the android Native Development Kit.
After reviewing the available options, and given the high level requirements stated above, I ended up going with Jetpack Compose for the following reasons:
- Jetpack is a Native Android library written in Kotlin, a preferred language for Android development. This means it should be possible to closely tie UI interactions with low level ML code as needed.
- Compose is flexible with support for state based UI design and complex animations that can create the feel of quality. With the range of app showcase examples I have seen built with Compose[^2][^3][^4], the library appears to be both versatile and flexible.
- Compose promises a declarative approach where components represented by Composable functions that render UI based on state variables. When state is updated, the Composable function is called again with the new data. Feels like React! Win for familiarity!
- Compose is supported by the Material design ecosystem. Material is a design system created by Google to help teams build high-quality digital interfaces for Android, iOS, Flutter, and the web. Material Components (buttons, cards, switches, etc.) and layouts like Scaffold are available as composable functions and can be used as excellent, performant defaults in your app.
This video below (source) demonstrates the flexibility of Compose for animation use cases.
Example animations built with Jetpack Compose. Looks great to me!
Problem Definition, Model Building
The problem I chose to address in this example focuses on predicting miles per gallon for cars using the popular cars dataset. The dataset contains information about cars including their horsepower, torque, weight, acceleration etc, and miles per gallon. The code snippet below is based on the "Predict fuel efficiency" tutorial from tensorflow.org.
# download CSVurl = 'http://archive.ics.uci.edu/ml/machine-learning-databases/auto-mpg/auto-mpg.data'column_names = ['MPG', 'Cylinders', 'Displacement', 'Horsepower', 'Weight','Acceleration', 'Model Year', 'Origin']# Read csv file using pandasraw_dataset = pd.read_csv(url, names=column_names,na_values='?', comment='\t',sep=' ', skipinitialspace=True)dataset = raw_dataset.copy()dataset = dataset.dropna()# Preprocessing to replace car origin field one hot encoded variablesdataset['Origin'] = dataset['Origin'].map({1: 'USA', 2: 'Europe', 3: 'Japan'})dataset = pd.get_dummies(dataset, columns=['Origin'], prefix='', prefix_sep='')# Split dataset into train and test splittrain_dataset = dataset.sample(frac=0.8, random_state=0)test_dataset = dataset.drop(train_dataset.index)train_features = train_dataset.copy()test_features = test_dataset.copy()train_labels = train_features.pop('MPG')test_labels = test_features.pop('MPG')
As a first step, we will build a simple perceptron (a neural network with a single dense layer) using Tensorflow in Python, trained it on the cars dataset, and converted the model to Tensorflow lite tflite. Note that using a single dense layer is equivalent to a linear regression model (hence a relatively simple model).
The code snippet below shows how to create a simple perceptron model in Tensorflow 2.0.
import tensorflow as tf# ...# Build a feature normalization layer. Fit it on train data onlynormalizer = tf.keras.layers.Normalization(axis=-1, input_shape=(train_features.shape[1],))normalizer.adapt(np.array(train_features))linear_model = tf.keras.Sequential([normalizer,layers.Dense(units=1)])linear_model.compile(optimizer=tf.optimizers.Adam(learning_rate=0.06),loss='mape', metrics=["mape"])
A complete notebook on building this model is here.
A TensorFlow Lite model is represented in a special efficient portable format known as FlatBuffers (identified by the .tflite file extension). This provides several advantages over TensorFlow's protocol buffer model format such as reduced size (small code footprint) and faster inference (data is directly accessed without an extra parsing/unpacking step) that enables TensorFlow Lite to execute efficiently on devices with limited compute and memory resources. Tensorflow lite models can then be executed by the tensorflow lite interpreter.
TensorFlow Lite utilizes CPU kernels that are optimized for the ARM Neon instruction set, but also supports faster execution on GPUs, TPUs, and DSPs via tensorflow lite delegates. Android offers delegates as well as iOS.
Converting to the Tensorflow lite tflite format is straighforward using the Tensorflow lite converter.
# Convert the model.converter = tf.lite.TFLiteConverter.from_keras_model(linear_model)tflite_model = converter.convert()# Save the model.with open('models/tf_intro/cars.tflite', 'wb') as f:f.write(tflite_model)
Note that the model must have a specified input shape. The tensorflow lite converter will automatically replace unknown shapes with a placeholder value (mostly 1). Earlier versions of my model did not have an explicitly specified input shape; as a result the converted model had an incorrect input shape of (1,) instead of (9,) given there were 9 features.
For reference, the size of the tflite exported mode is 2KB! Not bad!
Basic UI in Jetpack Compose
The Android Studio IDE makes the process of creating Jetpack Compose apps easy by including project templates (I used the Compose + Material 3 template). Once the project is created, a MainActivity.kt file is generated with a basic layout. Following this, you can you can start adding components to the screen and previewing changes in the design preview window.
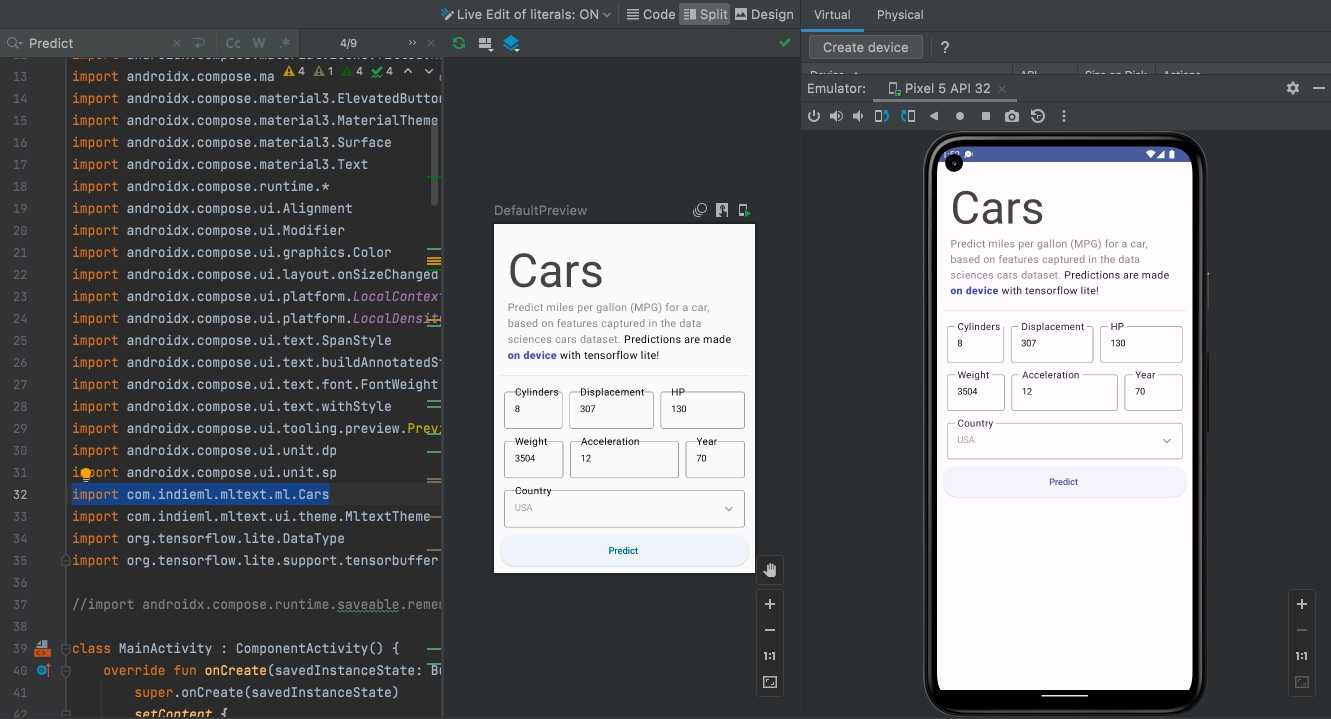
Overall, I followed this tutorial on Jetpack compose basics to get familiar with basic layout (rows and columns), state, state hoisting, persisting state, styling and theming.
Importing the Tensorflow lite model
To import your exported model, right click on your project in Android Studio New -> Other -> Tensorflow Lite Model.
This will create a new folder named ml in your project and import the model with sample code structure for predictions. Android studio will show the input/output signature of the loaded model (useful for verifying the model is exported properly) and sample code to run the tf.lite interpreter against your model
I used the kotlin snippet below to make predictions.
// import the Tensorflow Lite model...import com.indieml.mltext.ml.Cars...private fun Predict(context: Context, cylinders: String, displacement: String,hp: String, weight: String, acceleration: String, year:String, country:String): Float {var europe = if (country == "Europe") 1F else 0Fvar japan = if (country == "Japan") 1F else 0Fvar usa = if (country == "USA") 1F else 0Fval model = Cars.newInstance(context)// Creates inputs for reference.val inputFeature0 = TensorBuffer.createFixedSize(intArrayOf(1, 9), DataType.FLOAT32)inputFeature0.loadArray(floatArrayOf(cylinders.toFloat(),displacement.toFloat(),hp.toFloat(),weight.toFloat(),acceleration.toFloat(),year.toFloat(),europe,japan,usa))// Runs model inference and gets result.val outputs = model.process(inputFeature0)val outputFeature0 = outputs.outputFeature0AsTensorBufferval pred = outputFeature0.floatArraymodel.close()return pred[0]}
The predict function above is called from the MainActivity.kt file as an event on the predict button.
ElevatedButton(onClick = {prediction = Predict(context, cylinders,displacement,horsepower,weightval,acceleration,year,country)},modifier = Modifier.fillMaxWidth().padding(top = 5.dp),) {Text("Predict ", modifier = Modifier.padding(6.dp))}
The function takes in values extracted from text fields in the UI, converts them to float values and runs the model.
Conclusions
If you are interested in just building Android Apps in 2022, Jetpack compose is recommended. As someone who has some familiarity with React, most of the Compose api made intuitive sense (layouts, state, dynamic layout based on state etc). Also as someone who has built android apps in the past using xml ui layout, Compose is a much better experience.
In addition, Tensorflow lite provides a smooth experience for training models in python and deploying on-device for inference on edge devices (e.g., raspberry pi, arduino, edge TPUs, smartphones etc). It is also well supported and actively developed.
So, what parts were the most challenging in this project? IMO the biggest challenge lies with correctly transforming your input features captured on device (e.g. audio from a microphone, images from the camera, input from the UI) to the correct format that the tensorflow lite interpreter on Android expects. In this case, the model expects a 9 dimensional array of floats, so this is straightforward. Models with text data, audio or image data will be a bit more complex (manually converting that data to Float buffers).
Example Code
Full code for the Android app is here. Notebook on training the model and exporting to tf lite is here.
Next Steps
In the example above, we ran predictions using data entered by the user. However, more interesting use cases include extracting input data from the wealth of sensors available on mobile devices or peripherals (e.g., wearables). Even better, you retrain/fine tune models on device.
References
[^1]: On device training with Tensorflow lite https://www.tensorflow.org/lite/examples/on_device_training/overview. [^2]: Jetpack Compose Basics code lab https://developer.android.com/codelabs/jetpack-compose-basics#0 [^3]: Animation with Jetpack Compose https://www.youtube.com/watch?v=Z_T1bVjhMLk [^4]: Thinking in Compose https://www.youtube.com/watch?v=SMOhl9RK0BA
 Top 10 Machine Learning and Design Insights from Google IO 2021
 Hello World VR Application with the Oculus Quest 2 and Unity
 How to Build MultiModal Recommender Systems with Tensorflow
 How to Speed Up Neural Network Training with Intel's Gaudi HPUs. A Tensorflow 2.0 Object Detection Example
 State of Deep Learning for Object Detection - You Should Consider CenterNets!
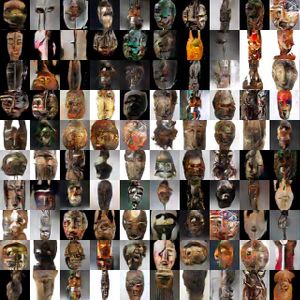 ART + AI — Generating African Masks using (Tensorflow and TPUs)
 2021 Year in Review
 10 Predictions on the Future of Cloud Computing by 2025 - Insights from Google Next Conference